There is something about sharp tools that just makes people feel alive. Whether it’s the feeling of precision as you cut through a piece of wood or the exhilaration you feel when you successfully complete a difficult task, wielding a sharp object is undeniably satisfying.
Sharp tools make the job of a woodturner much easier. They are also essential for many other professions, such as electrician and plumber. With a sharp tool, you can get the job done faster, and with less effort.
In this article, we will cover sharpening woodturning tools for beginners, and more importantly, the best ways to do so.
Sharpening Woodturning Tools
Woodturning is a wonderful hobby that can be enjoyed by anyone with a little bit of training. However, sharpening woodturning tools can be a challenge for some people. Even brand new tools need sharpening sometimes and that can make woodturning quite frustrating, especially for a beginner.
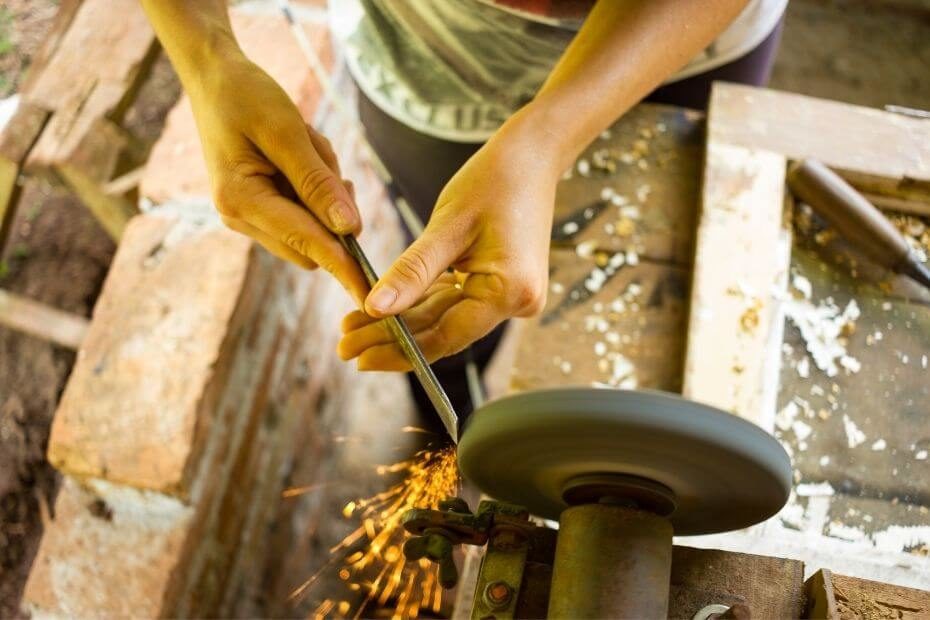
After you get used to sharpening your woodturning tools you will notice you can switch easily between turning on the lathe and sharpening on the grinder.
Let’s get started with the sharpening setup.
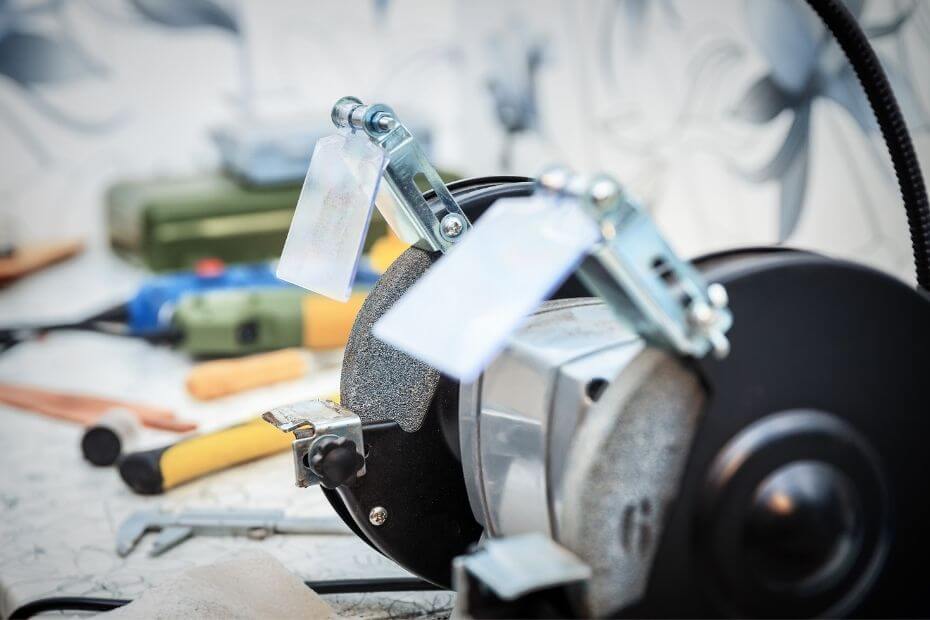
When you are starting out it’s important to have a good system for sharpening your tools. A grinder that can handle a variety of tools and blades is necessary.
Sharpening Setup

When you are starting out it’s important to have a good system for sharpening your tools. A grinder that can handle a variety of tools and blades is necessary. Here we will show you some examples of accessories you need to have for your sharpening system.
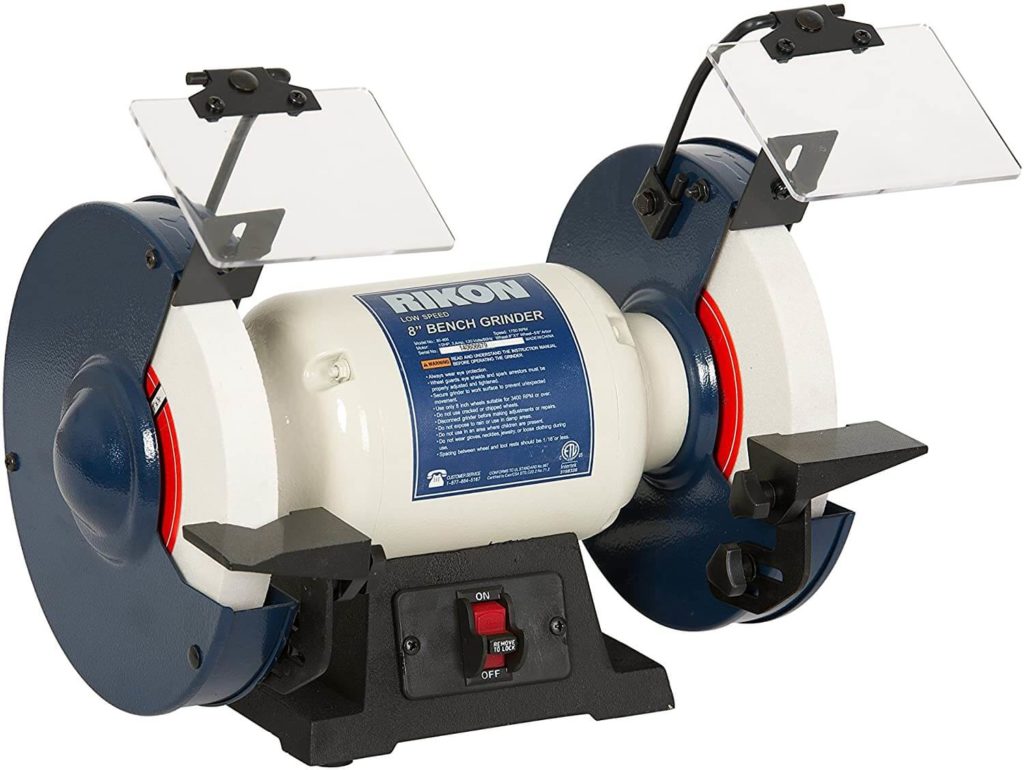
Slow-speed Grinder (6″ or 8″ wheel)
A slow-speed grinder is a great starting point for sharpening and shaping tools, but there are other machines available. This machine will is not very expensive but investing in a higher quality one is definitely better. We recommend the RIKON Professional Power Tools, 80-805 slow-speed bench grinder.
Tool Rests
Invest in high-quality aftermarket rests, such as a Wolverine sharpening system, and it will benefit your items regardless of their kind and condition. You can quickly remove the sharpening system and put it away without any difficulty. The Vari-Grind sharpening jig adds to the cost but you if have the budget go for it.
Grinder Stand
You can build your own stand for the grinder or buy a ready-made one, but it is important to buy one that will last. If you build your own, then ensure that it is sturdy and durable and that it will not fall over. Also, make sure that the stand allows the height of the tool rests to be the same as the lathe tool rest.
Grinding Wheels
The wheel is important because it determines how much metal you can remove. 80-grit Norton 3x wheels will work well for most purposes.
Diamond Truing Tool
Grinding wheels must be properly taken care of to keep the abrasive fresh. A light pass with a honing tool on the face of the wheel removes metal and exposes abrasive.
Felt-tipped marker
Setting a tool rest to match an existing angle can be made easier using a marker. Color the edge of the tool and then touch it to the stone. When the grinding wheel erases the ink your set.
Sharpening stones
Sharpening stones are an essential part of any tool-sharpening arsenal and can be used on a variety of tools, from saws to chisels.
Sharpening Turning Tools

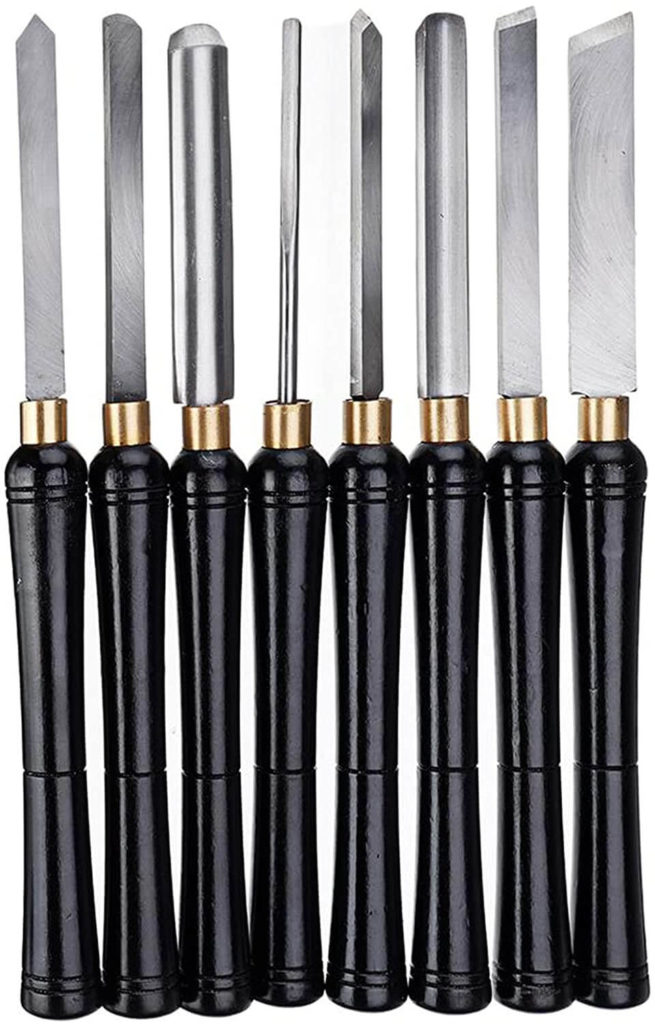
Here is how to sharpen each tool you find in a starter toolset.
Diamond Parting Tool
Parting tools are designed to cut clean and accurate diameters as well as separate the turned piece from the waste wood. They are a combination of cutting tools and scrapers. There are several types of parting tools: flat, diamond, and flute. A diamond parting tool can cut deeply without the sides binding in the kerf because the tip is at the thickest part of the shaft.
The typical factory-established bevels meet at a 50 angle, so this tool should only need a quick touch-up. A lower angle results in a cleaner cut but it tends to break down quickly when used for scraping.
To sharpen the tool, adjust the flat tool rest so that it matches the bevel angle of the wheel. Push the edge of the tool against the wheel gently. Remove an equal amount of material from each side of the tip so that it remains in the center of the tool. Stop when you feel a burr on one side and the edge is square. You don’t need to worry about polishing or honing off the bur because it will get knocked off after the tip touches the blank.
Scraper
The scraper tool is one of the most important tools in the woodturner’s arsenal. It can be used for a variety of tasks, including shaping and removing material from the workpiece. A sharp scraper will make light work of these tasks, while a dull scraper will struggle and may even damage the workpiece.
Fortunately, it is easy to sharpen a scraper tool. First, adjust the tool rest so that it meets the contour of the wheel. To ensure that the angles match, color the tool’s tip with a marker and touch it against the wheel. Maintain a 70-degree angle and pivot by following the shape of the edge.
Spindle Roughing Gouge
A roughing gouge turns blanks into cylinders. It also turns basic shapes such as tapers but is not intended for bowl turning. When sharpening you can use any bevel angle from 40 -55. Adjust the angle of your flat rest so that your tool’s bevel rests against the stone.
First, use one hand to keep the tool against the table and rotate the gouge. When it contacts the wheel, move on to rotating it in the opposite direction until you reach the other side. Hold the gouge firmly on the rest and keep its end square to the wheel while you are grinding. The sparks coming over the tool’s top will let you know that you are done.
Spindle Gouge
A spindle gouge is a type of carving gouge with a flatter profile than a standard gouge. This makes it ideal for hollowing out bowls and other concave surfaces. To sharpen a spindle gouge on a bench grinder, you will need to adjust the angle of the grinding wheel to match the angle of the bevel on the tool. The most common angle is 25 degrees, but you may need to adjust it depending on the profile of your tool.
Once you have set the angle, start by grinding away the blunt edge of the bevel. Be careful not to go too deep, as you only want to remove the damaged edge and not change the profile of the bevel. Once you have ground away from the blunt edge, move on to shaping the bevel using short, even strokes.
More practice is needed to sharpen a spindle gouge than other tools because the tool is rolled against the grinding wheel while simultaneously being slid up higher on the wheel.
Bowl Gouge
When it comes to sharpening a bowl gouge on a bench grinder, it is important to keep the bevel angle consistent. This can be done by using a guide or jig. To sharpen a bowl gouge on a bench grinder, you will need to grind at a higher bevel angle (around 75 -80 ). This will provide more mass under the cutting edge, making it easier to remove material from the bowl. Sharpening this tool is similar to the spindle gouge.
Skew Chisel
A skew chisel is an important tool for any woodworker. It can be used for a variety of tasks, from shaping to cutting joints.
While a skew chisel can be sharpened with a honing guide and sharpening stones, it can also be sharpened on a bench grinder.
When sharpening a skew chisel on a bench grinder, you will need to adjust the angle of the grinder so that it matches the angle of the bevel on the chisel. You can do this by using a protractor. The key to sharpening a skew chisel on a bench grinder is to keep the bevel flat against the grinding wheel.
Also Read: Can You Use Wood Chisels on a Lathe?
Testing the Sharpness
Testing the sharpness of your woodturning tools is an important step in getting the most out of your tools. You can do a simple test to see if your tool is sharp enough by trying to slice through a sheet of paper. If the tool can easily slice through the paper, then it is sharp enough for use. If the tool cannot slice through the paper, then it needs to be sharpened.
Final Thoughts
In conclusion, sharpening woodturning tools for beginners can be a daunting task. However, by following the simple steps outlined in this article, anyone can successfully sharpen their tools and begin woodturning. So, what are you waiting for? Get out there and start turning!

