It is best to let the wood dry for a few days or weeks before turning on a lathe. This will allow it to reach its optimal moisture content and makes it less likely to warp or crack while being turned.
If you don’t have time, there are some special precautions that need to be taken when drying green wood after turning on a lathe.
When green wood is cut, it releases moisture. Even dry logs may hold some residual water. You can check the moisture levels in a wood piece using a digital moisture meter.
Managing the moisture in greenwood is challenging due to many factors. Uneven moisture movement can cause stresses in or change the overall shape of a turned piece, and even lead to structural failure from cracks, checks, and splits.
Here are some factors that influence the drying process:
- time since cut
- humidity
- temperature
- air flow
- light sources
- heat sources
- item shape and thickness
- tree species
Best Ways To Dry Green Wood After Turning On A Lathe
It is best to let the wood dry for a few days or weeks before turning on a lathe. This will allow it to reach its optimal moisture content and makes it less likely to warp or crack while being turned.
If you don’t have time, here are some ways to dry green wood after turning.
WAITING TO DRY
Turn a piece of green wood into a bowl with a finished or rough-turned edge. Keep in mind that each wood species is unique and all of the external influences on it are always present. Some woods are quite cooperative, allowing you to do anything you want with little effort. Others species, however, break when you look at them the wrong way.
The completed turned item must have a consistent thickness throughout. If, for example, the walls near the rim are thin and the base is thick, more moisture will remain in the base after the thin walls have dried, resulting in uneven strain to fracture the bowl.
For a final turned workpiece, consider the effect of the environment on the wood. A cupboard with a low, cool, dark, shut atmosphere will be much more useful than a countertop near a windy open door or heat source.
Set the completed item aside and wait to see what happens. The results will be apparent in a few days or weeks. This has worked for me several times, as well as many others.
PAPER BAGS

One way to dry green wood after turning is by using paper bags. Greenwood in a wet environment tends to release excess moisture rapidly and excessively.
So brown plastic grocery bags are an excellent way to allow the moist greenwood to evaporate slowly and evenly over time. Because the paper bag breathes, it will gradually release moisture and dry up, exactly what we want.
A moist, fresh shavings-infused paper bag creates a controlled microclimate for our wet greenwood.
Simply gather some damp shaving from the shop floor, and line a paper grocery bag. Place the item or rough blank inside, cover it with additional wet shavings, then fold over the top of the bag and loosely tape it shut. This should be kept in a cool dark area with little air circulation. A cabinet or corner of the shop floor is best.
Allow to sit for a few days or weeks and you’ll have green wood that’s ready to turn! If it still seems damp, stick around longer until all moisture has evaporated from wet shavings. It may take even up to a month this way, depending upon your drying environment and time of year.
This is a crucial point to remember. Don’t store a green wood item in a plastic sealed bag in humid places. Plastic bags will retain moisture in moist regions, causing mold, bacteria, and decay to develop. This is not what we want for our lovely works of art.
The wet, fresh shavings will slow down the drying process, as they surround the bowl and assist to regulate or buffer the amount and speed with which moisture is expelled from the greenwood bowl.
After a few days, replace the greenwood piece with another new fresh paper bag. You can also inspect the dryness of the bowl while transferring it. The fresh paper will prevent excessive moisture accumulation and promote bacteria or mold development.
KILN DRYING
Kiln drying is best for those who want to dry green wood quickly and evenly. Kiln-drying your freshly cut bowl at a low temperature can eliminate the risk of warping or cracking over time.
Kiln drying is a great option for those who prefer speed over patience. It also reduces any risk of mold growth in wet regions or places with high humidity levels. Professional kilns are best equipped for this type of service, but a DIY home kiln may also be useful.
An old refrigerator, an insulated cabinet, or a box constructed of foam house insulation might all be used to construct a homemade kiln.
MICROWAVE

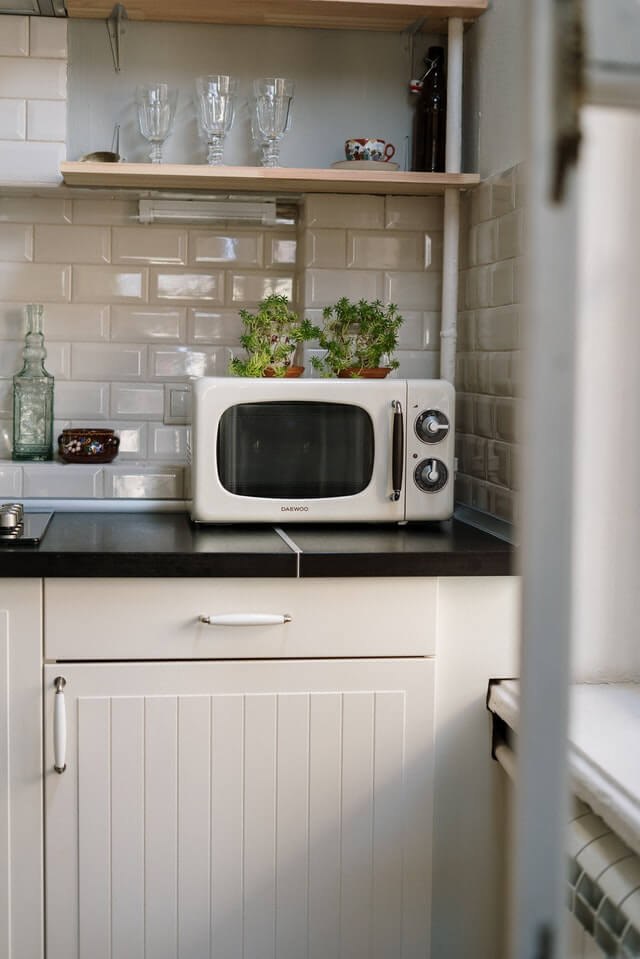
Microwave drying a wood bowl blank for example can be done in as little as 30 seconds at full power, followed by a 30-minute cool-down period. Repeat the procedure of weighing the wood bowl after each treatment until the weight of the bowl is constant.
If you want to be safe and not use your nice and shiny microwave you can buy a used one. Garage sales are the perfect place for this.
Depending on the thickness of the item this might take a while. It is still faster than waiting for it to dry.
Microwave the turned bowl for a very short time, 20-30 seconds, on high. After each treatment, remove the piece and leave it to cool for at least half an hour.
I set the empty bowl on the counter in the kitchen and support it on a side so that the majority of the bowl has access to fresh air. Because moisture will evaporate from the heated bowl, all surfaces must breathe.
DESICCANT
If you don’t know what desiccant is you can read more about it here. Essentially it is a material that absorbs and holds water, thus keeping the air inside a container dry.
A desiccant will work best in enclosed spaces like jars or Tupperware containers. Keep them in a dark place away from any heat sources to prevent them from being activated by heat as well as moisture development (the opposite of what we want). They also best work best in small enclosed spaces.
You may purchase huge quantities of desiccant and put it to use in the drying process for greenwood items. There’s no need to go out of your way to collect 10,000 tiny packets from different product packaging.
Here’s the neat thing about desiccants. When desiccant drying beads become moist, they change color.
The fact that desiccant is recyclable also makes it a useful product. Just spread the moist beads out on a cookie sheet and bake them at 250° for about an hour until they’re dry and ready to use again.
Keeping desiccant in an airtight container is crucial since it must never be exposed to air. The desiccant beads will suck up the moisture in the air until they are saturated if they are left exposed to air.
Place a layer of desiccant in a sealable plastic bag and then place the wooden piece inside the bag to dry it. Cover the wooden item completely with desiccant until it is no longer visible, then seal the plastic bag tightly.
The desiccant can dry the wood in as little as 24 hours, depending on the size, thickness, and shape of the green wood piece.
Final Thoughts On Drying Green Wood
So what is the Best Way to Dry Green Wood after Turning on a Lathe? What should you do if your wood is green? The best option would be to let it dry for a few days or weeks before turning on the lathe.
This will allow it to reach its optimal moisture content and make it less likely to warp or crack while being turned.
If you don’t have time, then you can use the methods we talked about. Having a kiln is probably the most common and the best method but you can try others too. You can even combine methods if you have many workpieces to dry.
We hope this blog post helped you find the best way to dry green wood after turning on a lathe.
